Arranging Your Own Wedding Flowers
Planning a wedding is not an easy task. But if the time is in your side, you can do things better and save on the cost if you DIY the parts that you can.
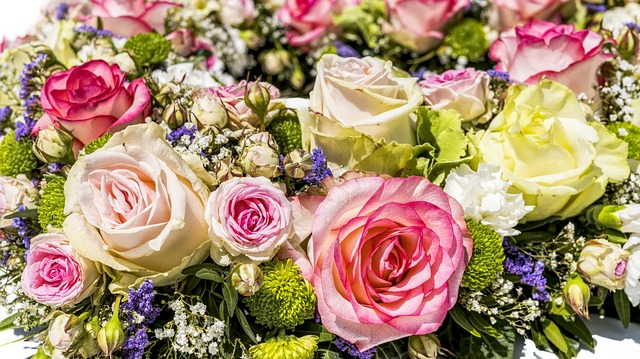
And arranging your own wedding flowers can be one of the things you can DIY. This will actually help you save more. With the present range on putting on a wedding, saving on things that you can do yourself is certainly a very good idea.
And Sara Rainey, have just this in mind. Read on this article on how she plans on doing that.
How to arrange your own wedding flowers
Vic Brotherson’s how-to guide
Don’t buy more flowers than you need. Keep a count and remember you can reuse church flowers
Aim to get them two days before the wedding, so they have time to bloom
You need time, space and somewhere to make a mess. A kitchen worktop will do, as will a garage, shed or garden
Take apart the bunches and prepare each stem by stripping back leaves and foliage below the tying point. If particularly bushy, split it into two or three
Before arranging, give your flowers plenty to drink. Leave stems overnight in vases or jugs in a bathtub or cold room
Bouquets and centerpieces are made in the same way. Choose one flower to start; hold it in your left hand, gripping with four fingers and releasing with your thumb. Rotate the bunch with your right hand, holding it above your left hand, and add another flower
Keep going, adding alternate colors, sizes and shapes. Mix foliage and greenery with vivid hues, ensuring you don’t damage them
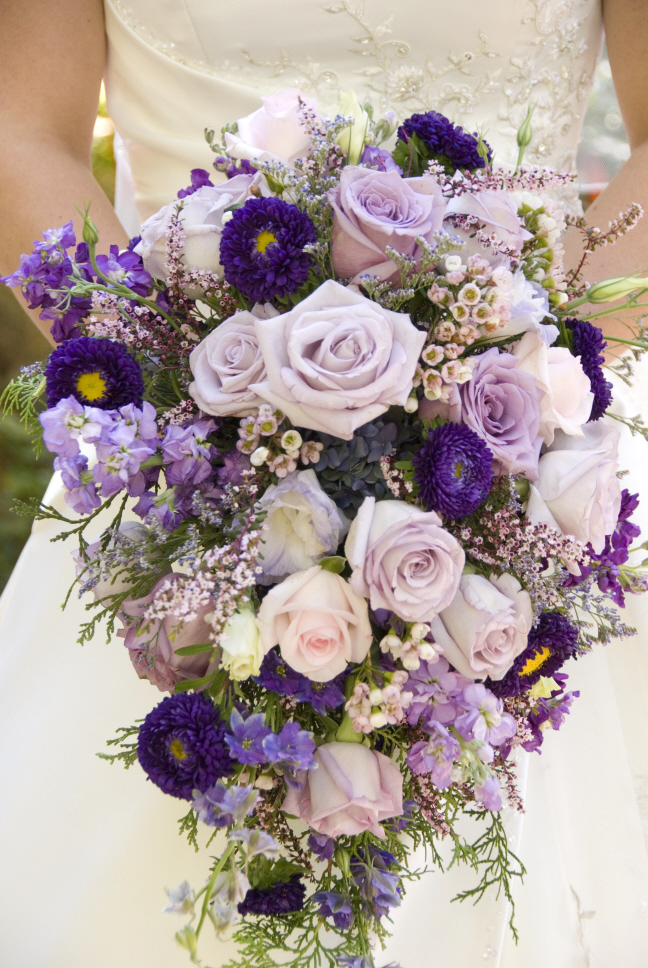
When you’ve reached the size of bunch you want, hold it in your left hand and cut the stalks to the appropriate length with your right. For bouquets, stalks should be a hand-and-a-half in length; for centerpieces, it depends on the height of the vase
Tie the arrangement with twine or wire string. Lay the bunch on its side, wind the string around twice and tie in a double knot, ensuring you don’t squash the stalks
Centerpieces can be tied or untied. Remember to snip a small slit in the base of woody stems to allow them to take up water
For the full article, you can check here.